Alternator: Difference between revisions
| Line 16: | Line 16: | ||
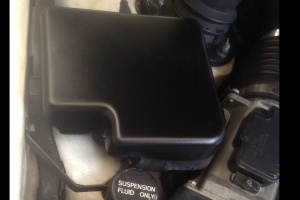
[[file:Cruise control cover.jpg|thumb|Cruise control cover]] | [[file:Cruise control cover.jpg|thumb|Cruise control cover]] | ||
[[file:Air box removed.jpg|thumb|Air box removed]] | [[file:Air box removed.jpg|thumb|Air box removed]] | ||
* [[Remove the air box]] | * [[Remove the air box]], including the Air Flow Meter and "concertina pipe" | ||
* Remove the hose 1 | * Remove the hose 1 | ||
* Remove the second hose | * Remove the second hose | ||
| Line 26: | Line 26: | ||
* Remove the bracket holding the electrical connector from under the air box | * Remove the bracket holding the electrical connector from under the air box | ||
[[file:Unbolted cable bracket under air box.jpg|thumb|Unbolted cable bracket under air box]] | [[file:Unbolted cable bracket under air box.jpg|thumb|Unbolted cable bracket under air box]] | ||
* Remove the front left mounting bolt | * Remove the front left mounting bolt from the alternator | ||
[[file:Alternator front left bolt.jpg|thumb|Alternator front left bolt]] | [[file:Alternator front left bolt.jpg|thumb|Alternator front left bolt]] | ||
* Remove the serpentine belt | * Remove the serpentine belt | ||
[[file:Serpentine belt tensioner pulley.jpg|thumb|Serpentine belt tensioner pulley]] | [[file:Serpentine belt tensioner pulley.jpg|thumb|Serpentine belt tensioner pulley]] | ||
* Remove the front right mounting bolt | * Remove the front right mounting bolt from the alternator | ||
[[file:Alternator front right bolt.jpg|thumb|Alternator front right bolt]] | [[file:Alternator front right bolt.jpg|thumb|Alternator front right bolt]] | ||
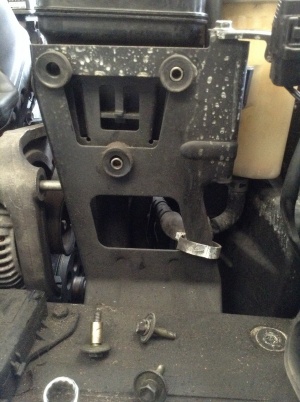
* Remove the rear alternator mounting bracket | * Remove the rear alternator mounting bracket | ||
[[file:Alternator rear bracket,jpg|thumb|Alternator rear bracket]] | |||
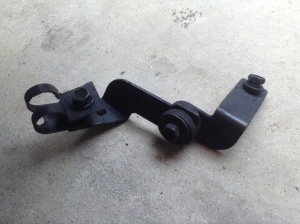
[[file:Alternator rear bracket removal tool.jpg|thumb|Alternator rear bracket removal tool|]] | [[file:Alternator rear bracket removal tool.jpg|thumb|Alternator rear bracket removal tool|]] | ||
[[file:Alternator rear support bracket removed.jpg|thumb|Alternator rear support bracket removed]] | [[file:Alternator rear support bracket removed.jpg|thumb|Alternator rear support bracket removed]] | ||
Revision as of 10:59, 6 April 2014
Alternator removal and servicing
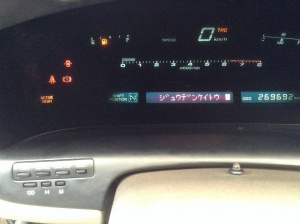
Alternator failure message
When the ignition is on, but the engines not yet started, the display will display (in English) "CHARGE" - this is normal. However, when the alternator is not charging, a message will be displayed in Japanese, which, when translated, means "Alternator not charging".
Confirm whether the alternator is bad, eg by measuring the battery voltage with the vehicle running and/or removing the positive cable from the battery while running.
Alternator removal
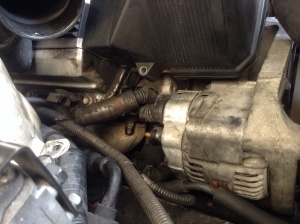
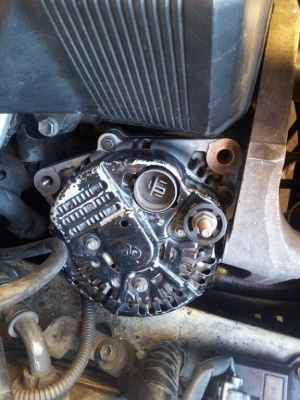
To remove the alternator:
- Remove the cover from the Cruise Control
- Remove the air box, including the Air Flow Meter and "concertina pipe"
- Remove the hose 1
- Remove the second hose
- Remove the 3 x bolts holding the side of the power steering reservoir.
- Remove the bracket holding the hydraulic line
- Remove the bracket holding the electrical connector from under the air box
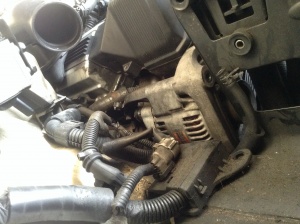
- Remove the front left mounting bolt from the alternator
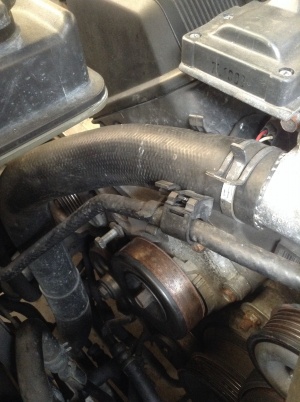
- Remove the serpentine belt
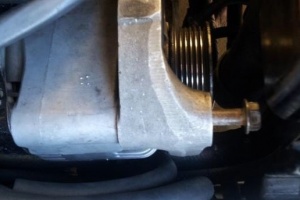
- Remove the front right mounting bolt from the alternator
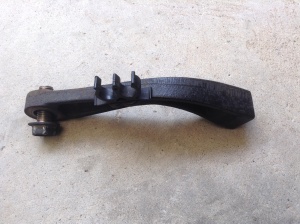
- Remove the rear alternator mounting bracket
- Remove the earth connection nut and cable
- Remove the electrical cable connector cover, then un clip and remove the cable
- Remove the alternator by turning his way and lifting it out
alternator parts
Posted: Mon Aug 19, 2013 8:08 pm Post subject: I feel a bit of knob writing what I did - I only had to do some proper investigations.. and I found the diode rectifier was faulty. Getting a new one proved tricky because they are not available anymore (for the UZZ32). However a 90-92 alternator for a MR2 happens to have near identical parts from its Nippon Denso alternator. Whilst the alternator itself isn't a fit, the diode rectifier, the brushes and the regulator are. I canibalised a MR2 alternator and rebuilt my one. Result! Works fine now. Done 1200 miles and all well. _________________ Jake Purches 'The Prof'
http://www.soarerworld.com/forum/showthread.php?30553-32-Alternator-Swap
johng12 Registered User
Join Date
Sep 2012
Real Name
John
Location
Stafford
Posts
10
Thanks
0
Thanked 2 Times in 2 Posts
Ok, that number was wrong, it was the part for the 31. I had to send it back.
I have sourced the right parts for the 32 alternator from someone here.
The parts are as follow:
Brush holder 39-8203 Regulator 15-8351 (same as for the 31). Rectifier Transpo CN-INR736-0073 (this is 32 specific with right angle rear external connection, not straight out as with the 31, which has the big wire on the side).
My alternator is now up and running perfectly.
Note: When you undo your lower engine mounts make sure you undo the transmission mount too, so as to allow the motor to tilt without straining your mounts.
