Alternator
Alternator removal and servicing
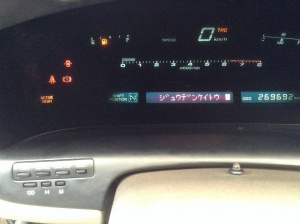
Alternator failure message
When the ignition is on, but the engines not yet started, the display will display (in English) "CHARGE" - this is normal. However, when the alternator is not charging, a message will be displayed in Japanese, which, when translated, means "Alternator not charging".
On some cars, this message may indicate a proble with, eg, the battery being due for replacement, and/or the battery connections being loose. On a Soarer, this message generally means what it says; there's insufficient charge coming from the alternator.
Other symptoms
Whilst the vehicle will run for some time without a working alternator, the battery will quickly be drained of power. When this occurs, various electrical functions will gradually stop working. This includes, eg, the active suspension. It has also been reported that the engine failure / cat warning light will come on
Confirm whether the alternator is faulty
As removal of the alternator is time consuming, please confirm whether the alternator is faulty before removing it. This can be done by, eg:
- measuring the battery voltage (which would be around 12v with a charged battery, but dropping slowly as it is not being charged and the full load of the vehicle electrical is borne by the battery
- removing the positive cable from the battery while running. If the alternator is generating power, the vehicle will keep running and the voltage generated would be in the order of 14v. With a faulty generator, the voltage and/or current would be less, and often zero. In that case, the engine would stop when the battery is disconnected.
Alternator removal
To remove the alternator:
- Safety first: Disconnect the battery to ensure the vehicle is not inadvertently started
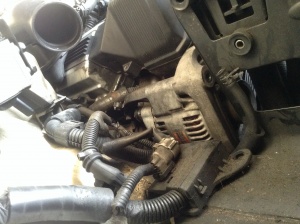
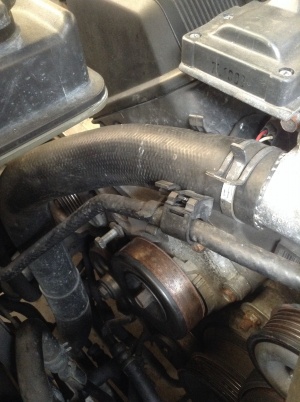
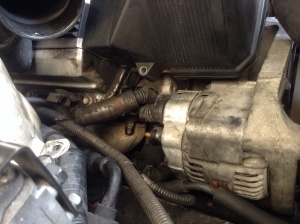
- Find the alternator!
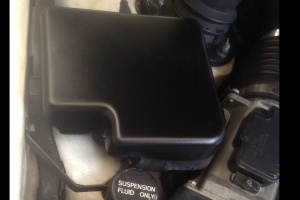
- Remove the cover from the Cruise Control actuator
- Remove the Air Cleaner Assembly (including the Intake Air Flow Meter and Air Cleaner Hose ("concertina pipe") by loosening one hose tie and removing 3 x bolt)
- Remove the vacuum hose that is in the way from the Intake Air Connector Pipe
- Remove the second vacuum hose
- Remove the 3 x bolts holding the side of the power steering reservoir (taking care not to lose the bushes that are now loose in the bolt-holes)
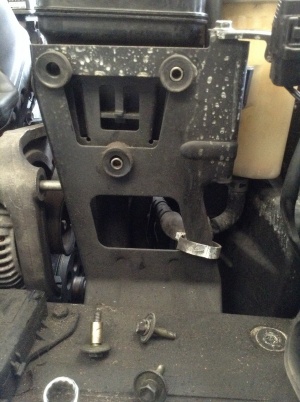
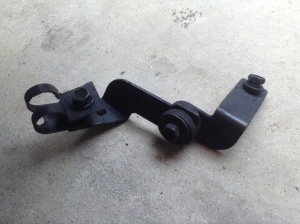
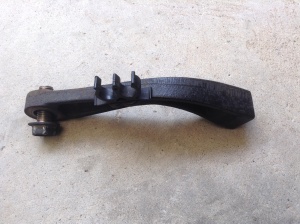
- Remove the bracket holding the hydraulic line
- Remove the bracket holding the electrical connector from under the air box
- Remove the front right mounting bolt from the alternator
- Remove the serpentine belt (by pressing down on the serpentine belt tensioner pulley)
- Remove the front left mounting bolt from the alternator
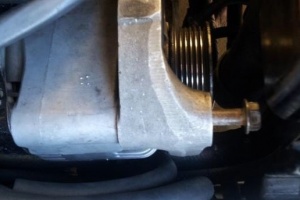
- Remove the rear alternator mounting bracket by removing the 14mm bolt from underneath the bracket. This can be hard to see, let alone reach with a tool that provides enough leverage as sockets do not easily fit and there is limited space even for a spanner. A 14mm ring spanner with an (improvised) extension (made by hooking on another spanner to the first one) can work.
- Remove the earth connection nut and cable
- Remove the electrical cable connector cover, then un clip and remove the cable
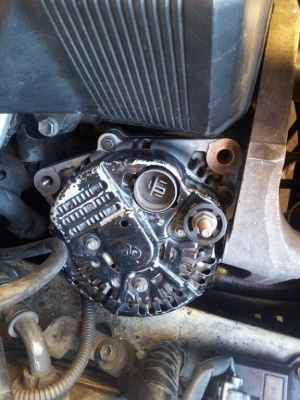
- Remove the alternator by turning his way and lifting it out
UZZ32 Alternators are unique
The UZZ32 Alternators differ from other V8 Soarers, as well as between year models! Alternators from eg UZZ30. UZZ31 or SC400 are not suitable, and replacement parts can be difficult to find.
Alternator parts
The diode rectifier is not available anymore (for the UZZ32). However a 90-92 alternator for a MR2 happens to have near identical parts from its Nippon Denso alternator. Whilst the alternator itself isn't a fit, the diode rectifier, the brushes and the regulator are. I canibalised a MR2 alternator and rebuilt my one.
The right parts for the 32 alternator are as follow:
Brush holder 39-8203 Regulator 15-8351 (same as for the 31). Rectifier Transpo CN-INR736-0073 (this is 32 specific with right angle rear external connection, not straight out as with the 31, which has the big wire on the side).
Source: http://www.soarerworld.com/forum/showthread.php?30553-32-Alternator-Swap
Toyota part numbers:
Regulator assembly: 27700-46040
Rectifier: 27357-50070
http://www.lexuspartsnow.com/parts/lexus-regulator-assy-generator~27700-46040.html
http://www.partswebsite.com/autopartspeople/oemparts/toyota-155/2735750070.html
Search on web for compatible parts, eg.
price $24 IN438 Regulator • 12 Volt, A-Circuit, S-IG-L Terminals, 14.5 Vset, 5 sec. LRC • Denso IR/IF Alternators • Replaces - DENSO 126000-1110, 126000-1260, 126000-1270, TOYOTA 27700-46030, 27700-46040
http://store.alternatorparts.com/in438hd---heavy-duty-voltage-regulator.aspx
Also: replace the (two?) bearings while the alternator is out
http://www.lextreme.com/alternator.html
